After Before
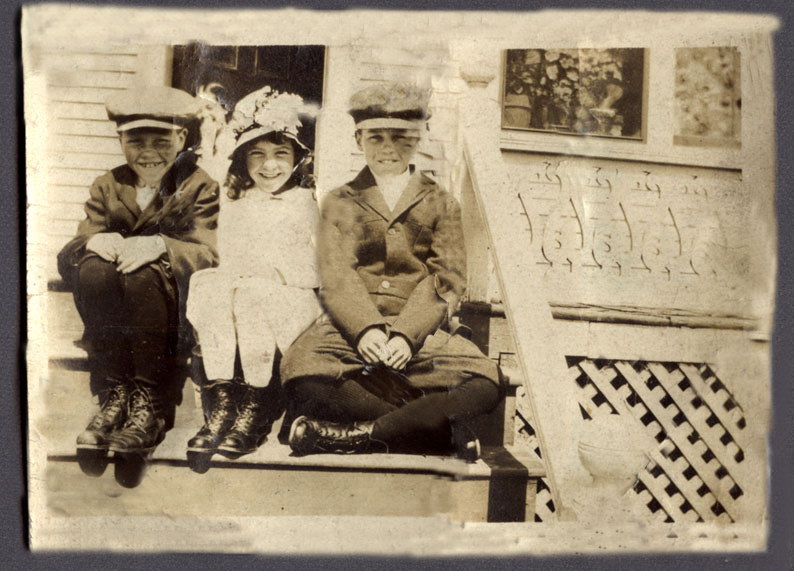
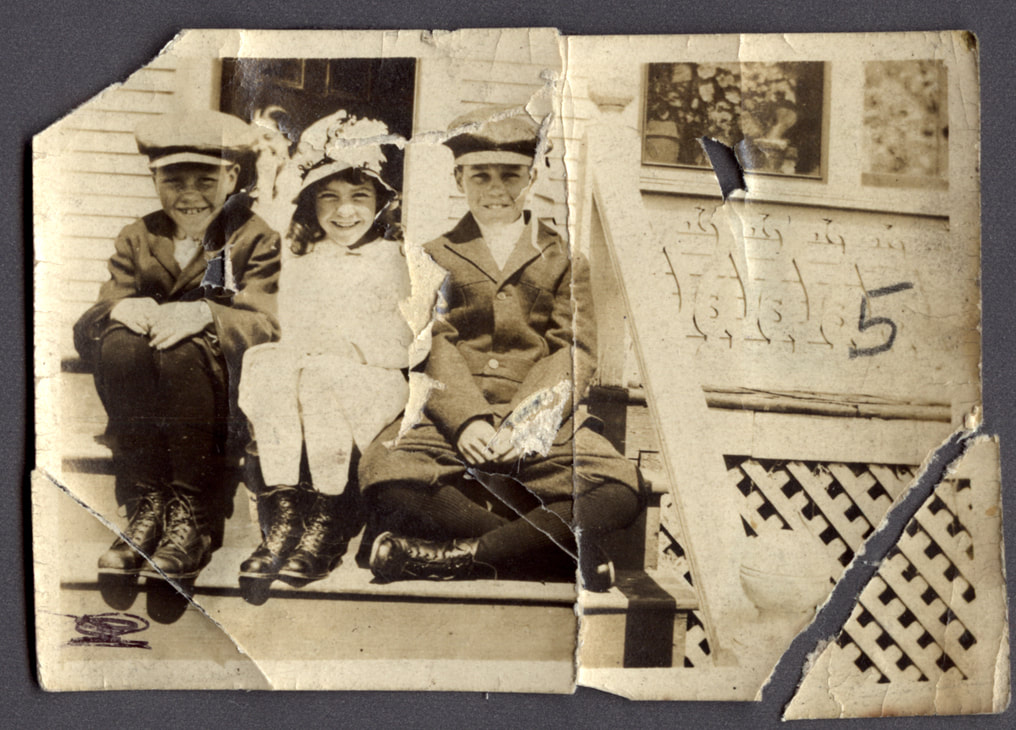
In the before picture there are a lot of rips from the picture being so old. To fix the rip I had to use some different tools in photoshop. As you can see in the after picture, everything looks about right. I had to use the clone stamp tool to fix the coloring in the painting, the top left corner, and many other small rips. For the bigger messes I had to use the lasso tool to take an image and transfer it to another part of the photo. I used the lasso in the bottom right and the boy on the rights arm. This was a good challenge and I learned a lot about photoshop.
After Before
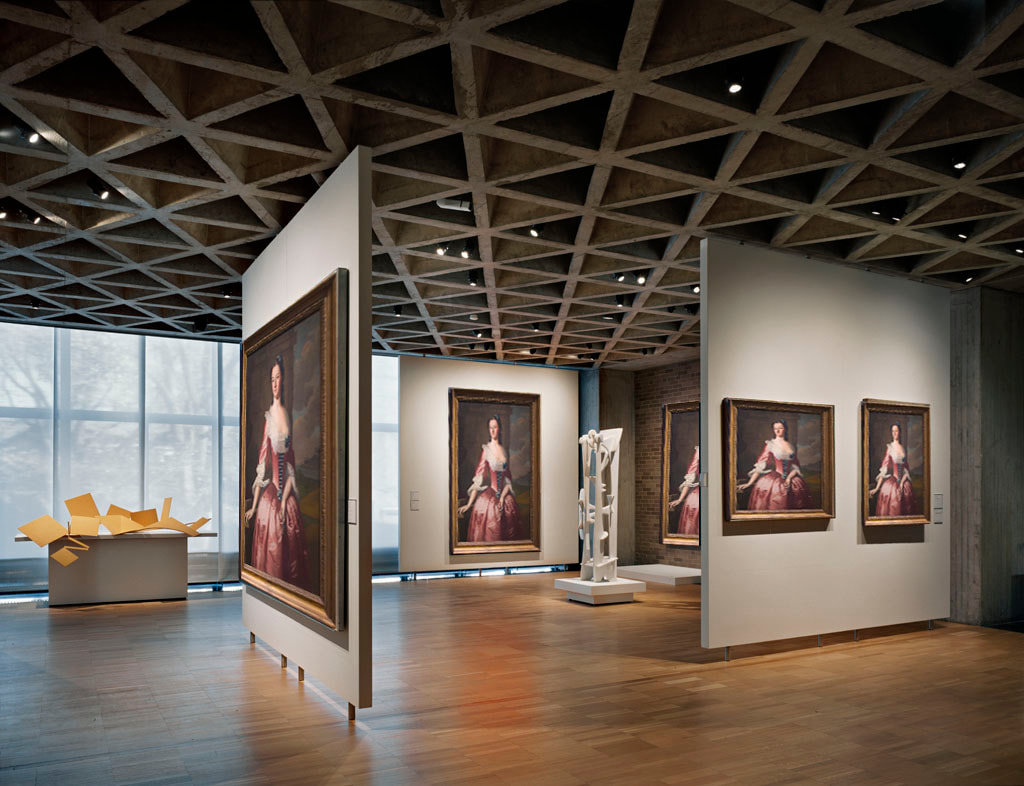
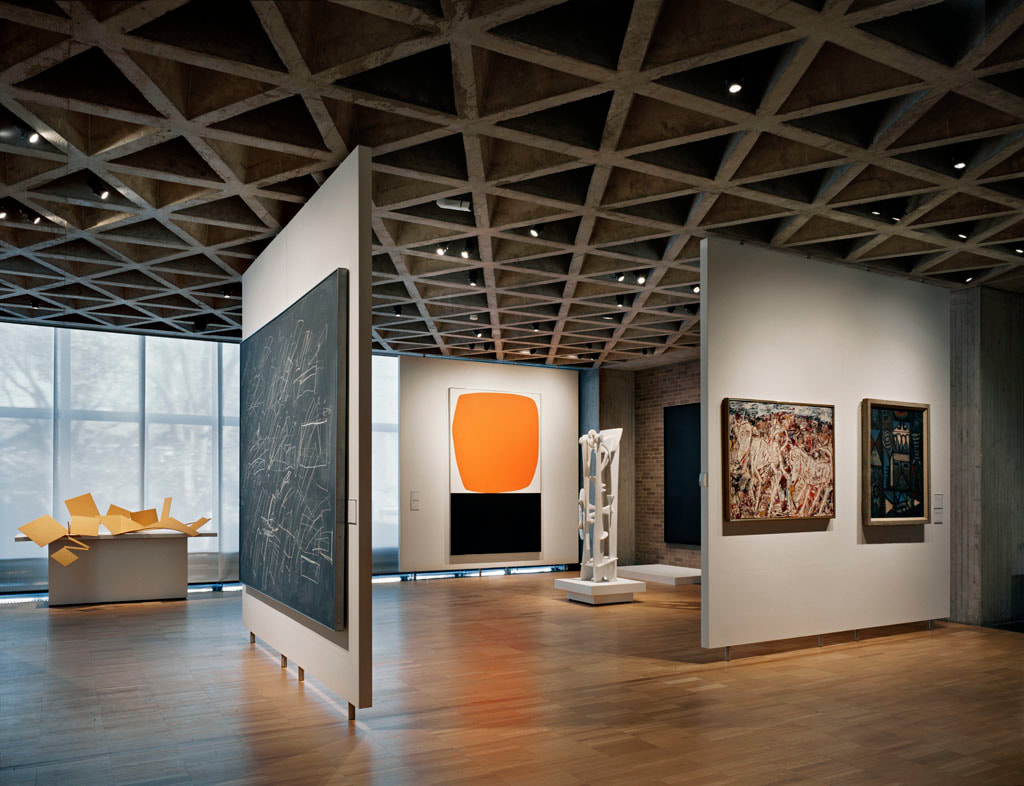
Before using Photoshop this photo had many different paintings. Then We took one painting and put it onto the image. Then using the polygon lasso tool, we took only the painting put it onto the layer with the room. Then using the distort tool we distorted the painting so it would fit in the exact position of the paintings in the before picture. Finally, we used the rectangular marque took the cut the painting in half to create the effect that the painting was behind the wall.
After Before
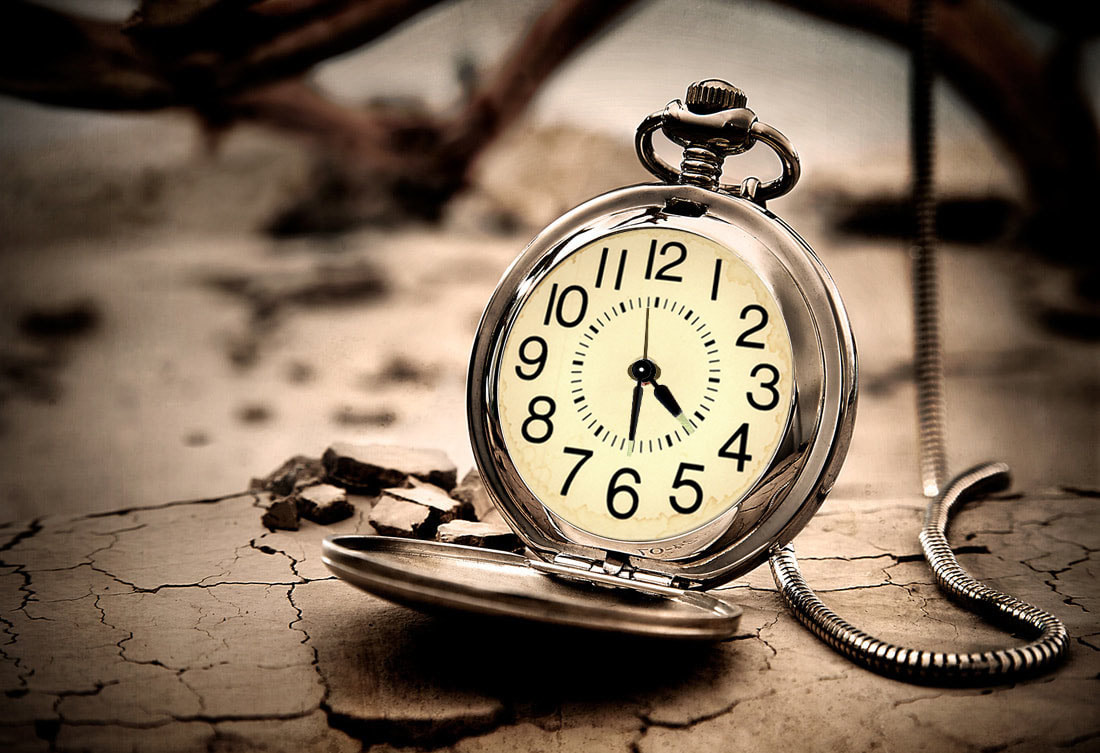
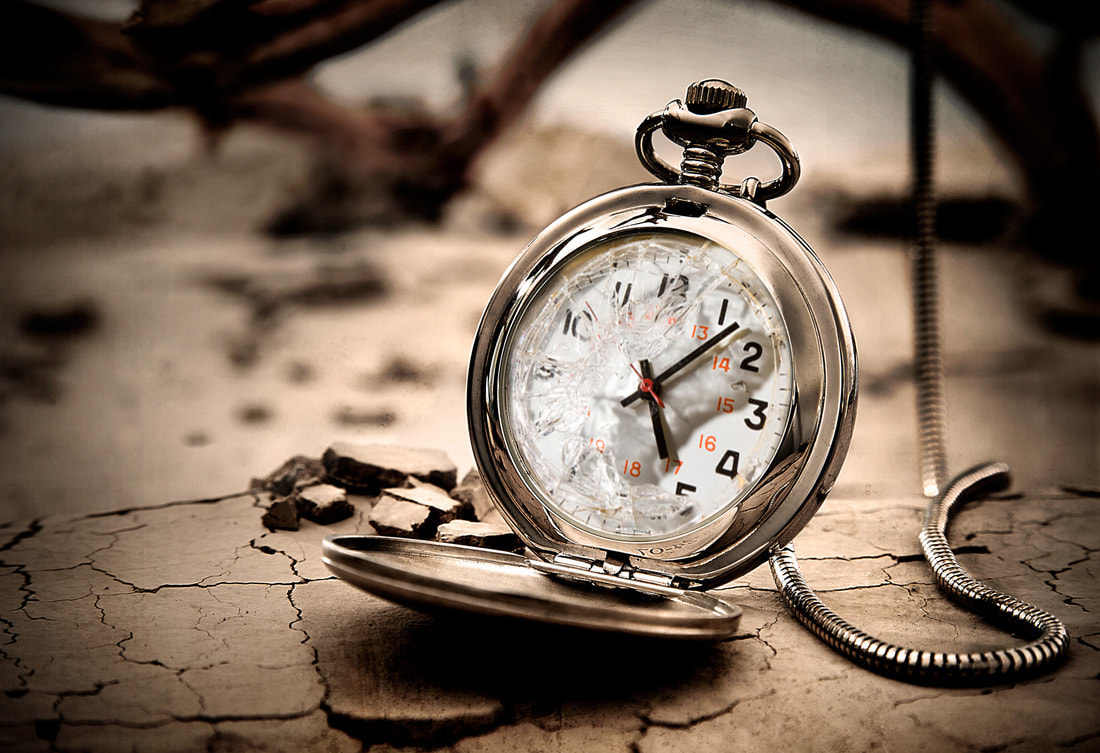
For this picture of the clock it was very simpler to fix it. First I made the background of a new face transparent. Then I selected the image using the rectangular marquee tool and dragged the new face on to the old one. Then using the distort tool I put the new face on. Then using the same process I put the hands on then it was finished.
After Before
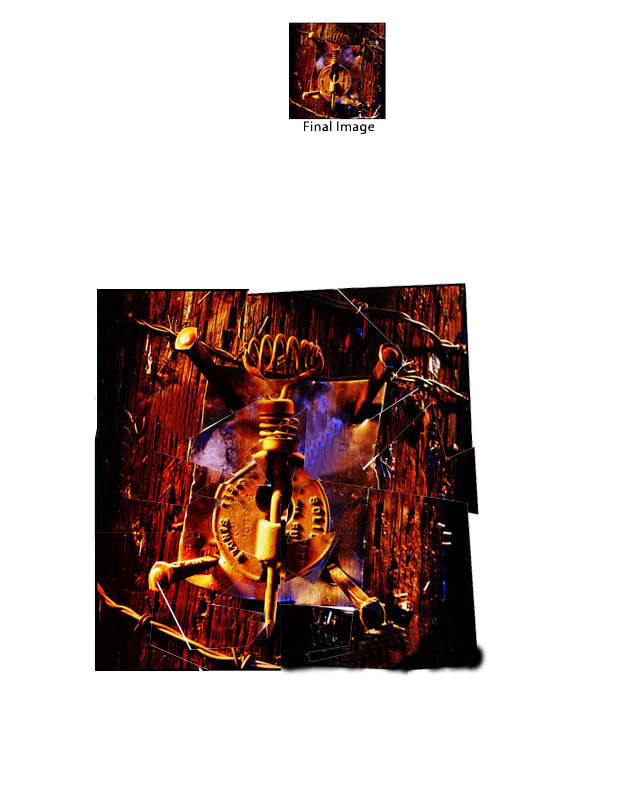

This project was a lot harder. This time we needed to use the magic wand tool the take out the background, then using the lasso tool I have to select each piece and put them together. Although they don't all fit perfectly and there are a couple of holes, you can still see the full puzzle.
After Before
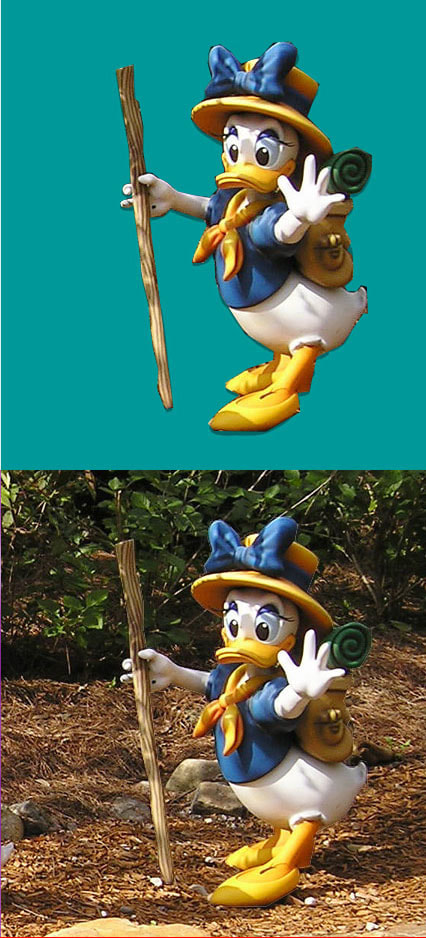
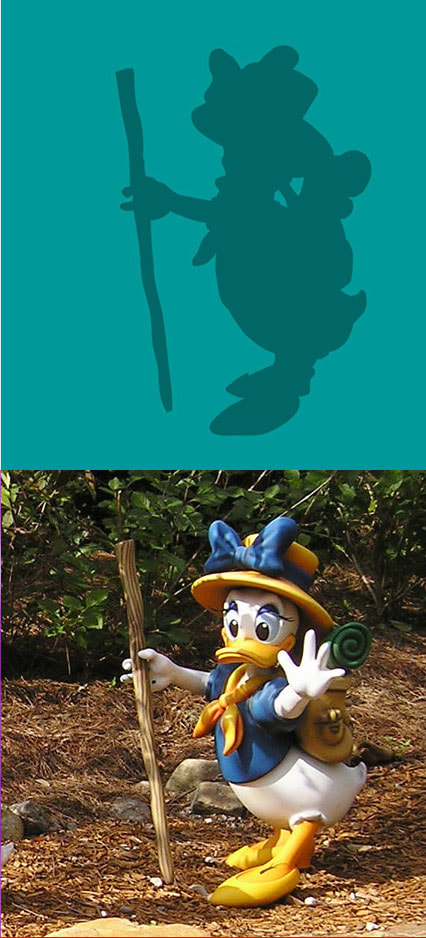
This project was easy but tedious. First we used the polygon lasso tool and cut the whole duck, then all I had to do is move it and line it up.
After Before
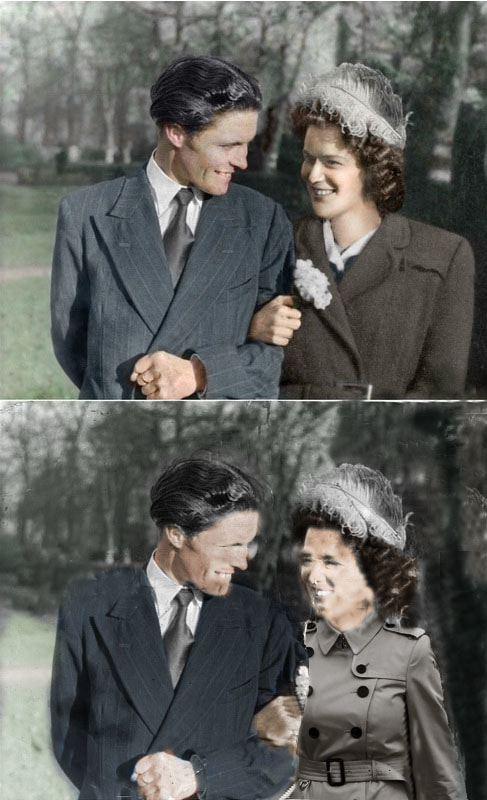
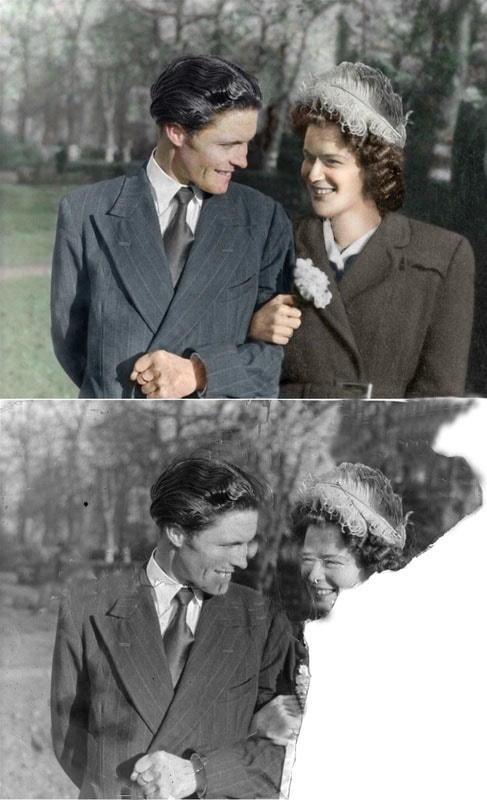
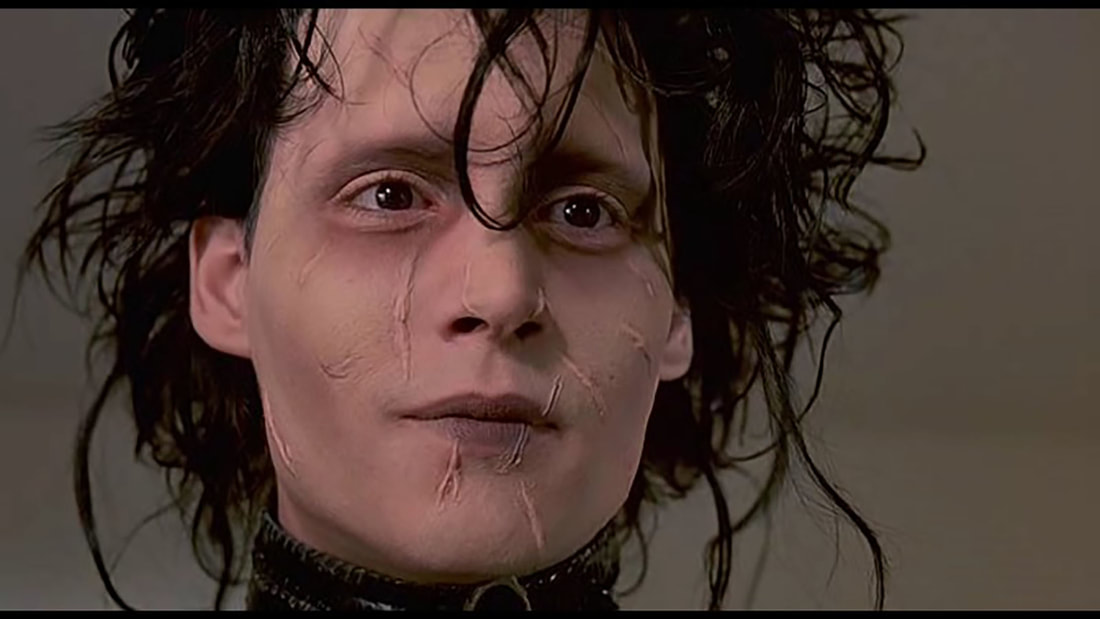
This was the hardest project so far. In this project I needed to use the clone stamp to fix some of the tears, then using an image I replaced the ladies chin and neck. Then using the eye dropper and paintbrush tool I colored everything. finally, I took a coat and put it on the lady. This project proved very challenging but it really enhanced my photoshop skills.
After Before
This project was somewhat easy. All I had to do was make a mask and precisely select every piece of hair. Then I had to select all I had selected around and put it on a different background. This project was easy but I am getting to know more and more photoshop tools.
After Before

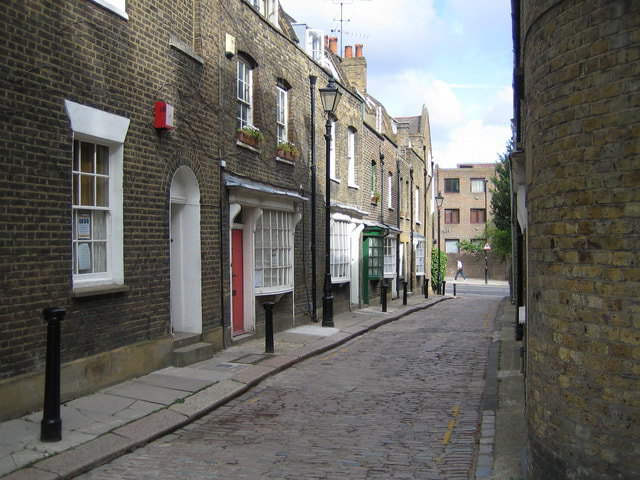
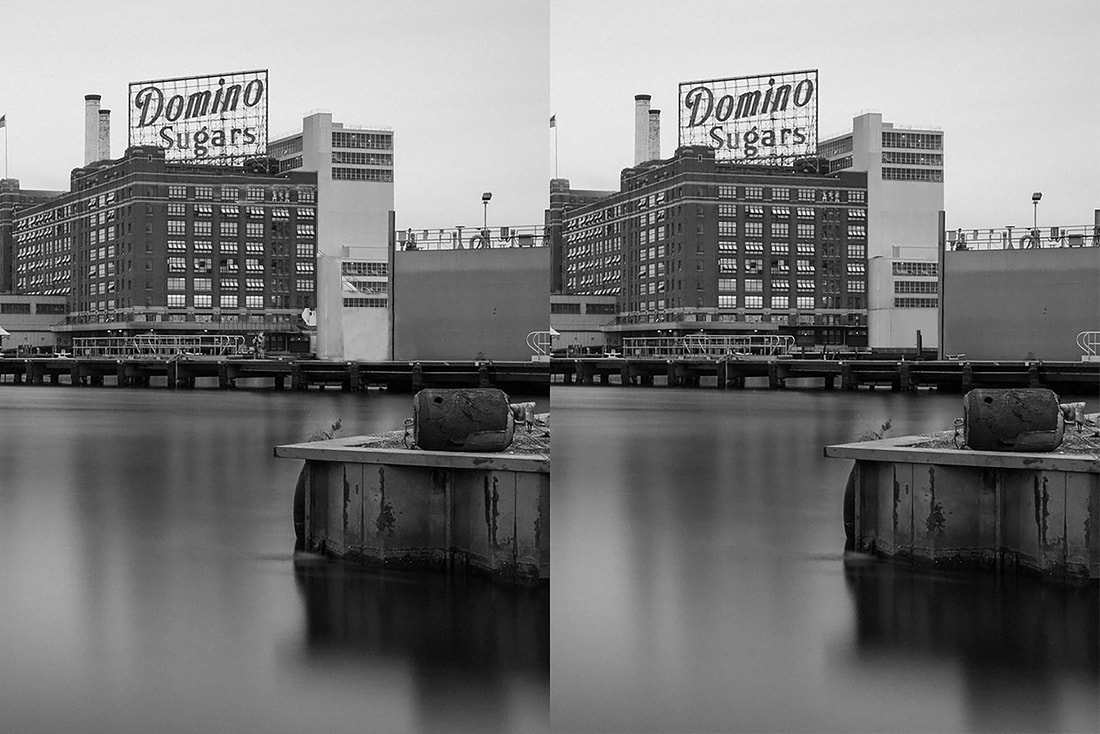
In this project we had to use the polygon lasso tool to select the sidewalk so we could make the reflection with the skew tool. Then we had to use the marquee tools and the magic wand to select the squares in the reflection.
After Before

In this project all we had to do is clone stamp the rips and color defects. Then to finish I had to make new text and change the font.
After Before
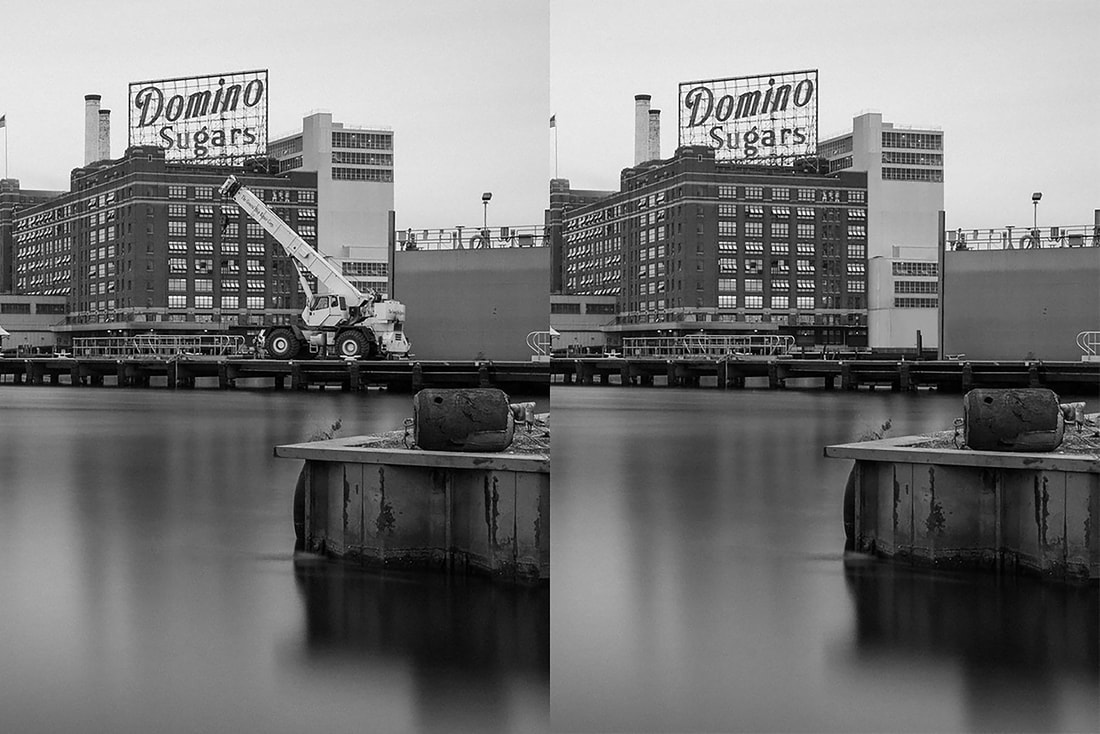
In this project I had to remove a crane which I need to use the clone stamp to to fix the colors and some textures. Then I used the polygon lasso to take a window on the left picture and use it to fix the window.
After Before
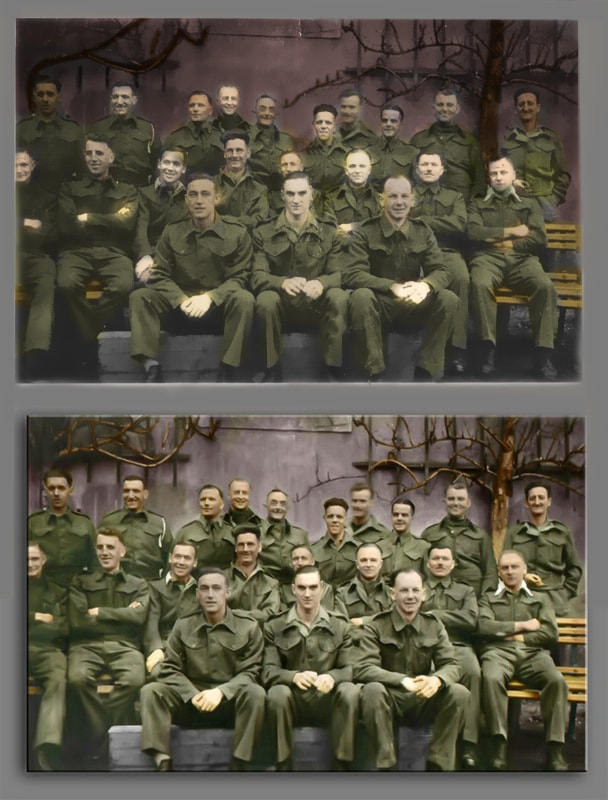
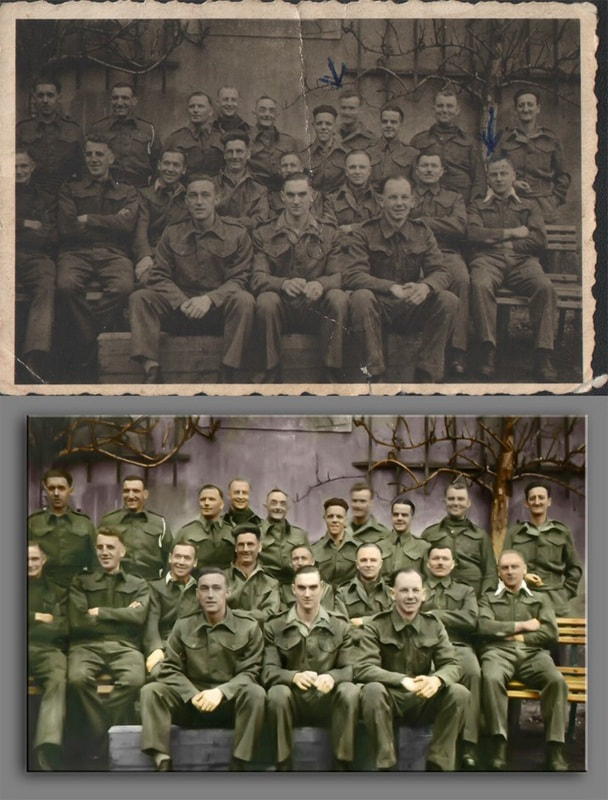
For this project I used the clone stamps to get rid of the rips and pen marks. Then I created layers with overlays to colorize everything. I also had to adjust the level of color but all in all this was a pretty easy proejct.
After Before

For this project all I and to do was clone stamp the rips, make the image black and white and fix the thing in the background.
After Before
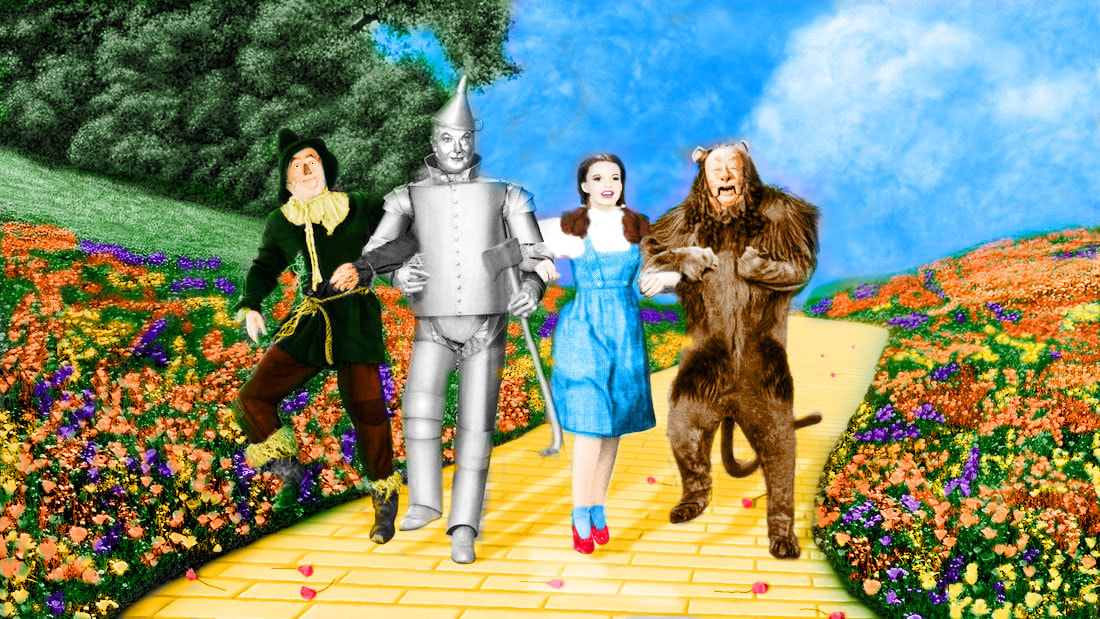
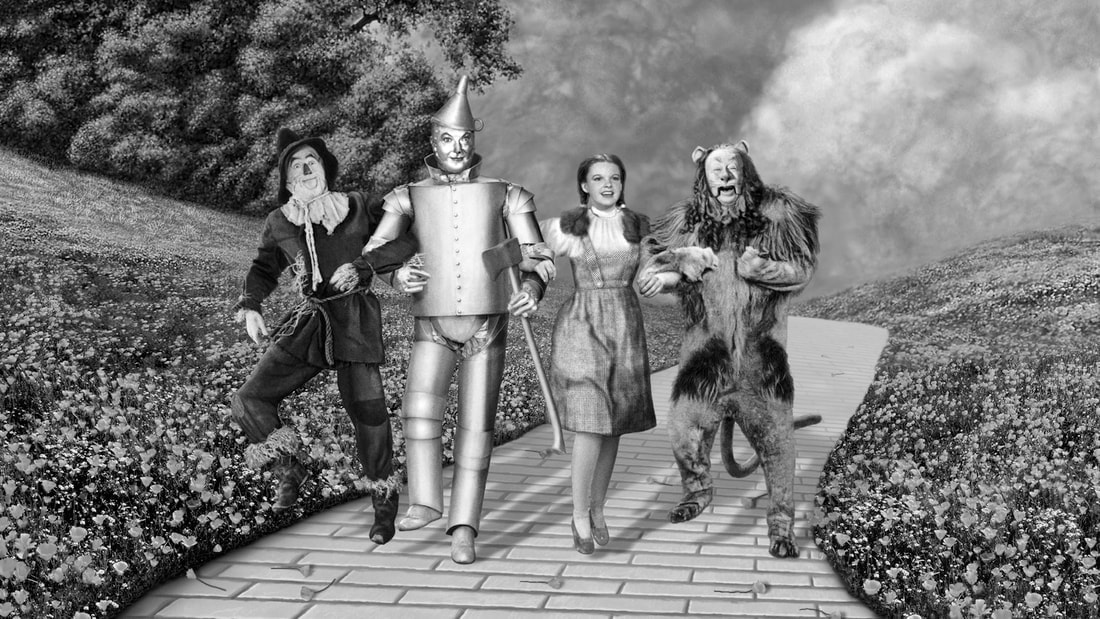
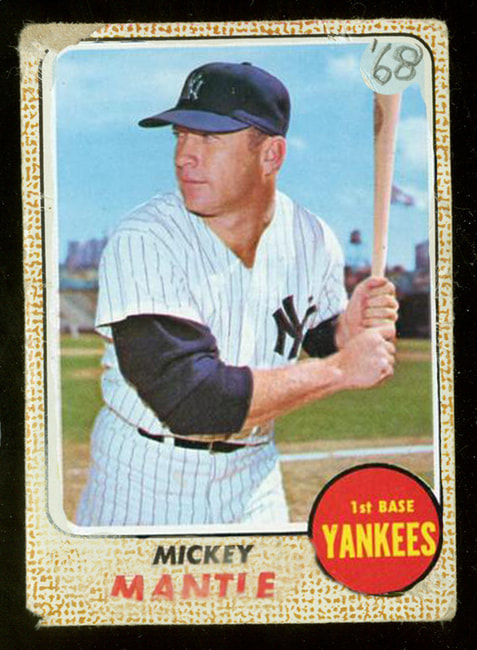
For this project I used the paintbrush tool to color all of the characters.
After Before
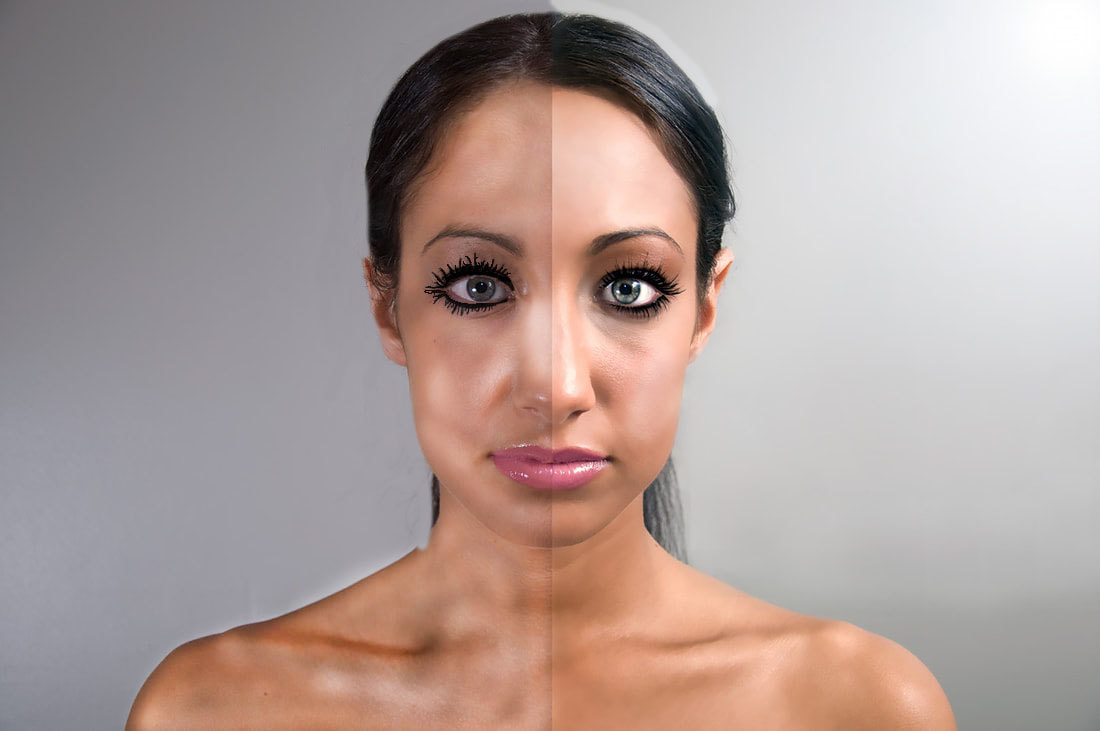
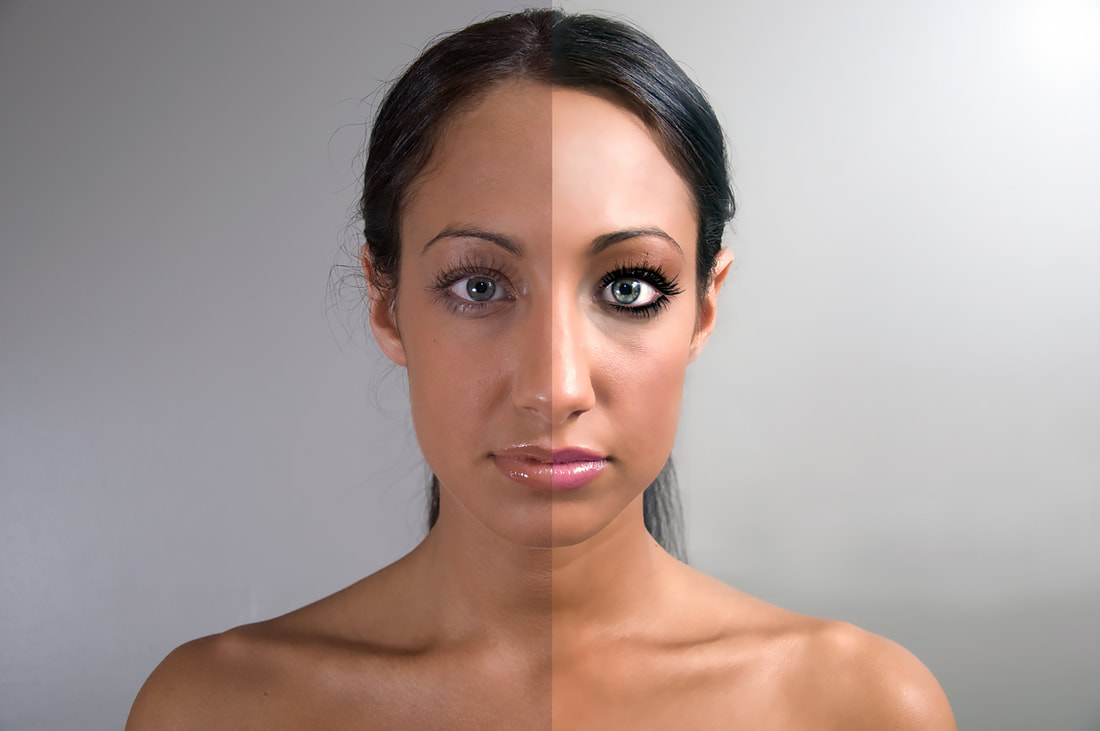
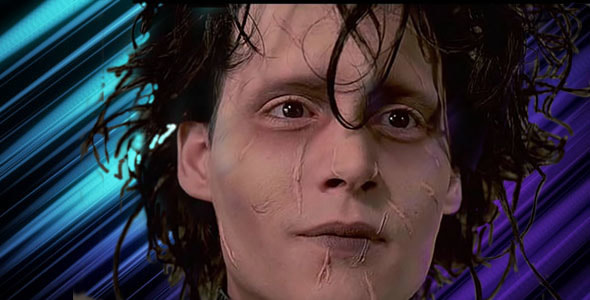
For this project I used the dodge tool to lighten the skin, then painted the lips and turned the opacity down. Then I clone stamped the fly away hairs and used the paintbrush to re do the eye lashes.
After
|
For this Project I used the elliptical marquee tool to make the circles. I filled them by using stroke, then using a soft paintbrush and inverse, I colored the inside and outside edges.
|

|
